
Ultimate Guide to XLR Connectors: Boost Your Audio Quality Today 2026
Introduction
Ever plugged in a microphone and wondered why professionals swear by those chunky three-pin connectors instead of regular audio jacks? You’re looking at an XLR connector—the unsung hero of professional audio.
Whether you’re setting up a home studio, performing live, or just curious about audio gear, understanding the XLR connector can transform your sound quality. These robust connectors have been the industry standard for decades, and there’s a good reason why.
In this guide, I’ll walk you through everything you need to know about XLR connectors. You’ll learn what makes them special, how they work, and why they might be exactly what your audio setup needs. No technical jargon overload—just clear, practical information you can use right away.
What Is an XLR Connector?
An XLR connector is a professional-grade electrical connector primarily used in audio applications. The name “XLR” stands for “eXternal Line Return,” though some say it comes from the original manufacturer’s naming convention.
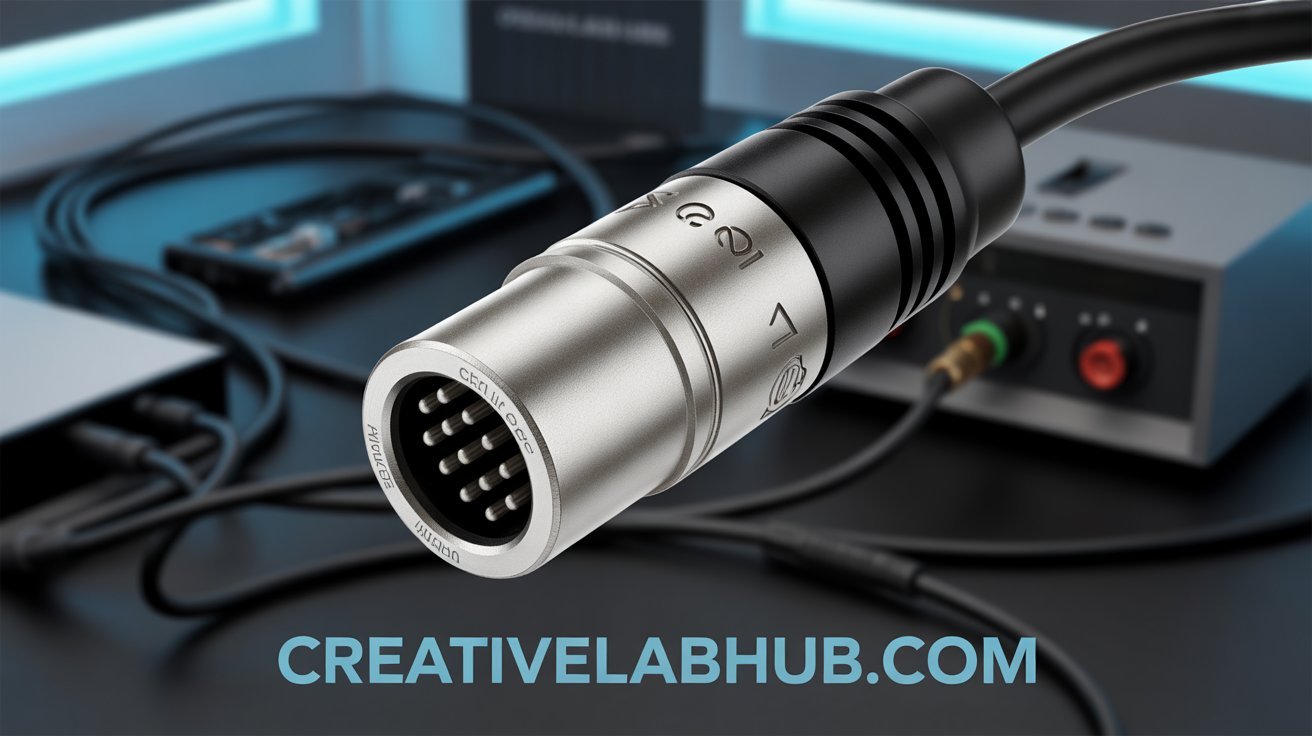
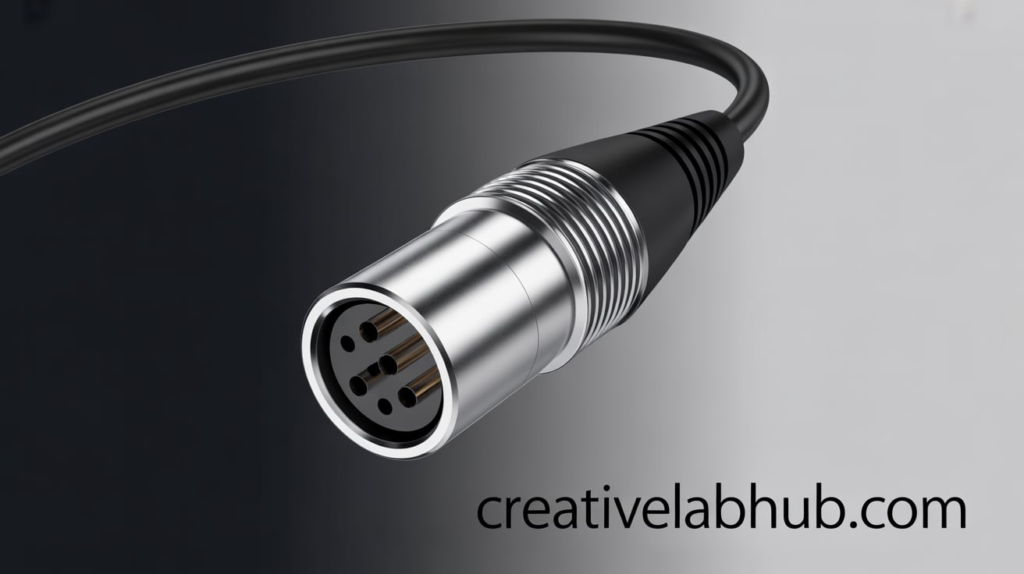
You’ll recognize these connectors by their distinctive circular design. They typically feature three pins (though variants exist). The metal housing locks securely into place with a satisfying click.
Professional musicians, sound engineers, and broadcasters rely on XLR connectors daily. They’re the go-to choice for microphones, mixing boards, powered speakers, and recording equipment.
Unlike standard audio jacks, XLR connectors provide balanced audio transmission. This means cleaner sound with less interference—especially over long cable runs.
The Anatomy of an XLR Connector
Understanding the parts helps you appreciate why these connectors work so well.
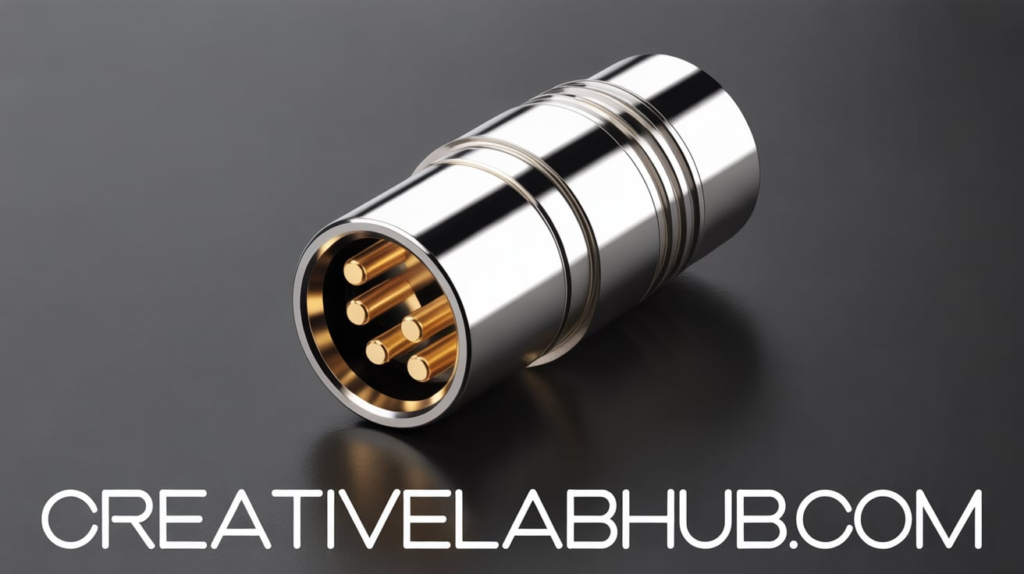
The three pins serve specific purposes:
- Pin 1: Ground (shield)
- Pin 2: Positive signal (hot)
- Pin 3: Negative signal (cold)
The metal outer shell provides shielding against electromagnetic interference. This protective housing is what gives XLR cables their durability.
Inside, you’ll find a locking mechanism. This small latch prevents accidental disconnections during performances or recording sessions.
The connector body is usually made from die-cast metal or high-quality plastic. Professional-grade versions use nickel-plated brass for maximum conductivity and longevity.
Why XLR Connectors Matter for Audio Quality
Here’s where the XLR connector really shines. The balanced audio design actively fights noise and interference.
When audio travels through the cable, both pins 2 and 3 carry the same signal. However, pin 3 carries an inverted version. At the receiving end, the equipment flips pin 3’s signal back and combines it with pin 2.
Any interference picked up along the cable affects both pins equally. When the signals combine, the interference cancels out. Your audio stays pristine.
This matters most when:
- Running cables longer than 20 feet
- Working near electrical equipment or lighting
- Performing in venues with complex power systems
- Recording in less-than-ideal environments
I’ve seen the difference firsthand. During a live event, we had to run microphone cables across stage lights and power cables. The XLR connectors delivered clean audio without a hint of buzz or hum.
Standard unbalanced cables would have picked up every electrical noise in the building. The difference was night and day.
Types of XLR Connectors You Should Know
While three-pin versions dominate, XLR connectors come in several configurations.
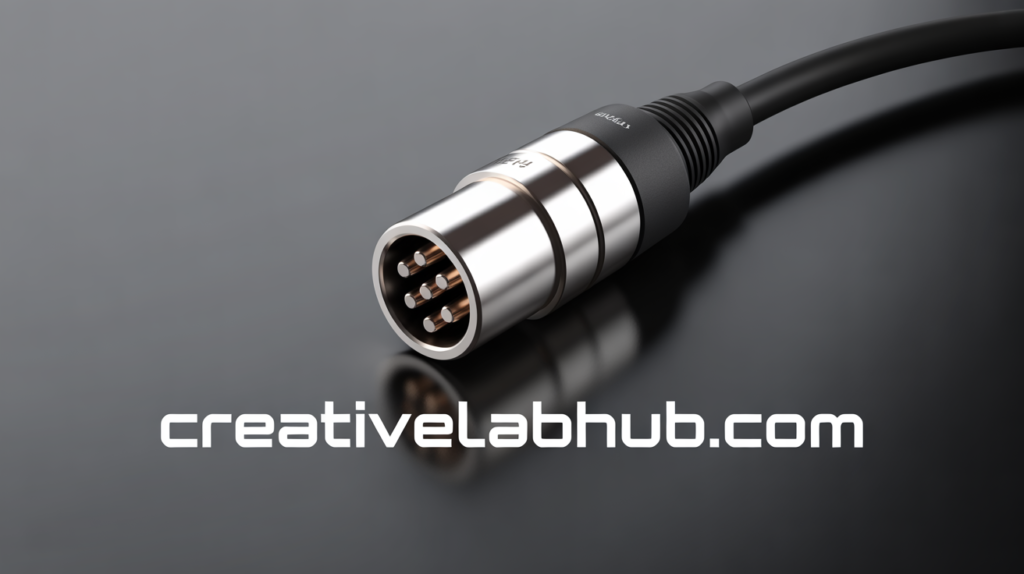
3-Pin XLR (Most Common)
This is the standard for microphones and professional audio equipment. You’ll find male connectors on cables and female connectors on devices.
The convention is simple: male XLRs have pins, female XLRs have holes. Audio typically flows from male to female.
5-Pin XLR
These handle stereo signals or specialized applications. DMX lighting systems also use five-pin XLR connectors.
Some high-end headphones use this configuration. Each additional pin opens up new possibilities for signal routing.
4-Pin and 7-Pin Variants
Four-pin versions appear in intercom systems and some power applications. Seven-pin connectors serve specialized broadcast equipment.
You won’t encounter these as often in typical audio work. They’re more common in specific professional niches.
Mini XLR
Smaller versions exist for wireless microphone systems and compact recording devices. They maintain the same balanced audio benefits in a reduced form factor.
Brands like Sennheiser and Audio-Technica use mini XLR connectors on their professional wireless systems.
XLR vs. Other Audio Connectors
Understanding how XLR connectors stack up against alternatives helps you make informed choices.
XLR vs. 1/4-Inch (Quarter-Inch) Jack
Quarter-inch jacks work well for instruments and short cable runs. They’re versatile and widely available.
However, standard quarter-inch cables provide unbalanced audio. They’re more susceptible to noise and interference.
TRS (Tip-Ring-Sleeve) quarter-inch cables can deliver balanced audio. But they lack the secure locking mechanism of XLR connectors.
XLR vs. 3.5mm (1/8-Inch) Jack
You’ll find these tiny connectors on consumer electronics and portable devices. They’re convenient but rarely used professionally.
The small size means fragile connections. There’s no locking mechanism, and the unbalanced design picks up interference easily.
XLR vs. USB and Digital Connections
Modern USB microphones bypass traditional XLR connectors entirely. They convert audio to digital right at the microphone.
This works great for podcasting and simple setups. However, you lose flexibility in equipment choices and signal routing.
Professional studios still prefer XLR because you can upgrade individual components. Your microphone, preamp, and interface can each be optimized separately.
How to Use XLR Connectors Properly
Getting the most from your XLR connectors requires proper handling and connection techniques.
Connecting XLR Cables
Line up the connector with the socket. The guide pin ensures correct orientation—you can’t plug it in backward.
Push firmly until you hear and feel the latch click. This confirms a secure connection.
Don’t force it. If the connector doesn’t slide in smoothly, you might have the wrong type or a damaged connector.
Disconnecting Safely
Always press the release latch before pulling. Never yank on the cable itself.
Hold the connector body while pressing the latch. Pull straight out with steady pressure.
This simple habit extends the life of both your cables and equipment. I’ve seen too many damaged connectors from careless disconnection.
Cable Management Tips
Proper coiling prevents internal wire damage. Use the over-under technique rather than wrapping around your elbow.
Avoid tight bends near the connector. This stress point is where cables typically fail first.
Secure cables with velcro straps, not twist ties or tape. This prevents damage during setup and teardown.
Common XLR Connector Issues and Solutions
Even the robust XLR connector can develop problems. Here’s how to troubleshoot common issues.
Intermittent Connection
If your audio cuts in and out, the latch mechanism might be worn. Check if the connector locks securely.
Dirty contacts also cause intermittent signals. Clean the pins with contact cleaner and a lint-free cloth.
Internal wire breaks near the connector are another culprit. Gently flex the cable near the connector while audio is passing. If the sound cuts out, the cable needs replacement.
No Signal at All
Verify you’re connecting outputs to inputs. It sounds basic, but it happens more than you’d think.
Check that phantom power is enabled if you’re using a condenser microphone. These require 48V power through the XLR connector.
Test the cable with known-working equipment. This isolates whether the cable or your gear has the problem.
Ground Hum or Buzz
Ground loops create that annoying 60Hz hum. Try plugging all equipment into the same power circuit.
Sometimes lifting the ground on one device solves it. Use a ground lift adapter cautiously—only as a last resort.
Ensure your cables provide proper shielding. Cheap cables with inadequate shielding pick up interference regardless of the balanced design.
Choosing the Right XLR Cable
Not all XLR connectors and cables are created equal. Quality varies significantly.
Cable Length Considerations
Buy the length you actually need. Excess cable creates clutter and potential signal degradation.
For stage use, measure the distance and add a few feet for flexibility. Don’t stretch cables taut—leave some slack.
Balanced XLR connections work well over long distances. I’ve run clean audio through 100-foot cables without issues.
Build Quality Matters
Look for these quality indicators:
- Metal connector housings (not plastic)
- Secure strain relief where cable meets connector
- Quality wire gauge (lower numbers = thicker wire)
- Braided or foil shielding (or both)
- Reputable brand names
Cheap cables seem like a bargain initially. They fail at the worst possible moments—trust me on this.
Connector Brand Recommendations
Neutrik makes industry-standard XLR connectors. You’ll find them on professional cables worldwide.
Switchcraft is another trusted name. Their connectors last for decades with proper care.
For cables, brands like Mogami, Canare, and Gepco provide excellent quality. These cost more upfront but prove their worth over time.
XLR in Different Applications
Understanding where XLR connectors excel helps you apply them effectively.
Studio Recording
Professional studios rely exclusively on XLR for microphones. The balanced signal ensures recordings stay clean through multiple processing stages.
Your microphone connects to a preamp via XLR. The preamp might connect to your audio interface with XLR or TRS cables.
This setup gives you the cleanest possible signal path. Every professional recording you’ve ever heard likely started with an XLR connector.
Live Sound and Performances
Stage environments are electrically noisy. Lighting systems, amplifiers, and other equipment create interference.
XLR connectors handle this chaos gracefully. Singers can move freely without worrying about disconnections.
The locking mechanism is crucial here. I’ve watched performers accidentally step on cables during energetic performances. The connection held firm.
Broadcasting and Podcasting
Radio stations and professional podcast studios use XLR connectors throughout their signal chains.
The reliability matters when you’re broadcasting live. There’s no room for crackles, pops, or sudden disconnections.
Many podcasters start with USB microphones. As they upgrade, they typically move to XLR-based systems for better quality and flexibility.
PA Systems and Sound Reinforcement
Public address systems connect speakers to amplifiers using XLR. The balanced connection maintains clean audio across the venue.
Mixing consoles feature rows of XLR inputs for microphones and instruments. Outputs connect to powered speakers or amplifiers.
This standardization means equipment from different manufacturers works together seamlessly.
Maintaining Your XLR Connectors
Proper care extends the life of your XLR connectors and ensures reliable performance.
Regular Cleaning
Dust and grime accumulate over time. Use compressed air to blow out debris from female connectors.
For pins on male connectors, use contact cleaner sparingly. Apply it to a cloth, then wipe the pins clean.
Never use water or household cleaners. These can damage the connector or leave residue.
Storage Best Practices
Coil cables properly when storing. The over-under technique prevents twisting and internal damage.
Store in a cool, dry place. Extreme temperatures and humidity can corrode connections over time.
Use cable bags or cases for protection. This prevents physical damage during transport and storage.
When to Replace
Bent pins can often be straightened carefully. Use needle-nose pliers and work slowly.
If the locking mechanism no longer clicks securely, replacement is necessary. A loose connection causes more problems than it solves.
Corrosion on the pins or inside the housing means it’s time for a new connector. Don’t risk your audio quality on degraded connections.
XLR Adapters and Converters
Sometimes you need to connect different connector types. Adapters make this possible.
XLR to TRS/TS Adapters
These convert balanced XLR to quarter-inch connections. Useful when interfacing with instrument amplifiers or certain audio interfaces.
The balanced signal converts to unbalanced with TS adapters. TRS adapters maintain the balanced connection.
XLR to RCA Adapters
Professional equipment with XLR can connect to consumer gear with RCA inputs. Signal conversion from balanced to unbalanced occurs in the adapter.
Quality varies significantly. Choose reputable brands to maintain signal integrity.
Gender Changers and Turnarounds
Sometimes you need male-to-male or female-to-female connections. Gender changers solve these unusual situations.
I keep a few in my cable kit. They’re lifesavers when you discover a cable running the wrong direction.
Important Adapter Considerations
Adapters introduce potential failure points. Use them only when necessary.
They can’t magically create balanced audio from an unbalanced source. The weakest link in your chain determines overall quality.
For permanent installations, get the right cable instead of relying on adapters. This ensures maximum reliability and sound quality.
The Future of XLR Connectors
Despite digital alternatives, XLR connectors continue evolving and remaining relevant.
Digital XLR (AES/EBU)
The same physical connector now carries digital audio using the AES/EBU protocol. This brings digital audio quality to the familiar XLR form factor.
Professional studios use these for digital connections between equipment. The connector looks identical to analog XLR.
Hybrid Solutions
Some modern systems combine analog XLR with digital protocols. This maintains compatibility while enabling new features.
Dante and AVB systems can operate over standard Ethernet while keeping XLR for critical connections.
Why XLR Persists
The connector’s reliability is unmatched. Decades of professional use have proven the design.
New technologies come and go. XLR connectors remain the trusted standard because they simply work.
The physical locking connection and balanced audio design solve real problems. Until something definitively better emerges, XLR will dominate professional audio.
Conclusion
The XLR connector might seem like a simple piece of hardware, but it represents decades of audio engineering excellence. From studio recordings to live performances, these connectors deliver reliable, high-quality audio connections.
You now understand what makes XLR special—the balanced audio design, secure locking mechanism, and robust construction. Whether you’re building a home studio or working professionally, XLR connections elevate your audio quality.
Start with quality cables and connectors. Treat them well, and they’ll serve you for years. The investment in proper XLR connectors pays dividends in reliability and sound quality.
What’s your experience with XLR connectors? Are you planning to upgrade your audio setup? The world of professional audio awaits—and it connects with XLR.
Frequently Asked Questions
What does XLR stand for in audio connectors? XLR stands for “eXternal Line Return,” though the exact origin is debated. Some attribute it to the original Cannon Electric company’s naming convention (X series, Latch, Rubber compound). Regardless of the name origin, XLR has become the universal term for these professional audio connectors.
Can I use XLR cables for speakers? Yes, XLR cables work excellently for powered speakers and professional PA systems. However, passive speakers typically require speaker cables with higher gauge wire. XLR cables designed for microphones may not handle the power requirements of passive speaker connections safely.
What’s the difference between male and female XLR connectors? Male XLR connectors have three exposed pins and typically appear on cable ends that send signals. Female XLR connectors have three holes and usually receive signals on equipment inputs. Audio conventionally flows from male to female connectors.
Do XLR cables need phantom power? XLR cables themselves don’t need phantom power—they simply carry it. Condenser microphones require 48V phantom power to operate, which travels through the XLR cable. Dynamic microphones don’t need phantom power but won’t be damaged if it’s present.
How long can an XLR cable be without signal loss? Balanced XLR cables maintain excellent signal quality over 100 feet or more. In practice, professionals regularly use 50-100 foot cables without noticeable degradation. The balanced design actively rejects interference, making long runs practical.
Are expensive XLR cables worth it? Quality matters more than price alone. Well-constructed cables with good shielding, quality connectors, and proper wire gauge will outlast cheap alternatives. However, diminishing returns exist—a $50 cable typically performs as well as a $200 cable for most applications.
Can you convert XLR to USB? Direct XLR-to-USB cables exist but with limitations. They contain a basic analog-to-digital converter. For better quality, use an XLR audio interface that connects to your computer via USB. This gives you proper preamps and conversion circuitry.
Why do some XLR connectors have more than three pins? Five-pin XLR handles stereo signals or DMX lighting control. Four-pin versions serve intercom systems. Seven-pin connectors appear in broadcast equipment. The three-pin version remains standard for mono audio applications.
How do I know if my XLR cable is balanced? If it’s a proper XLR cable with three-pin connectors on both ends, it’s designed for balanced audio. However, the equipment on both ends must also support balanced connections to realize the benefits. Check that both devices have XLR or TRS balanced connections.
Can I make my own XLR cables? Absolutely! Soldering your own XLR cables is straightforward with basic soldering skills. You’ll need quality Neutrik or Switchcraft connectors, bulk cable, and a soldering iron. Many audio professionals make custom-length cables for their specific needs.
Also Read : XLR Microphone