
Ultimate Guide to XLR Microphone: Why XLR Microphones Win Every Time 2026
Introduction
Ever wondered why professional podcasters and musicians swear by XLR microphones?
You’ve probably seen those chunky cables with three pins at recording studios or live concerts. They look professional, but are XLR microphones really worth the hype?
Here’s the thing: if you’re serious about audio quality, understanding XLR technology changes everything. Whether you’re launching a podcast, streaming on Twitch, or recording music in your bedroom studio, XLR mics offer advantages that USB alternatives simply can’t match.
In this guide, I’ll walk you through everything you need to know about XLR microphones. You’ll discover what makes them special, how they compare to other options, and whether they’re the right choice for your setup. By the end, you’ll know exactly which type of microphone deserves a spot on your desk.
Let’s dive in.
What Is an XLR Microphone?
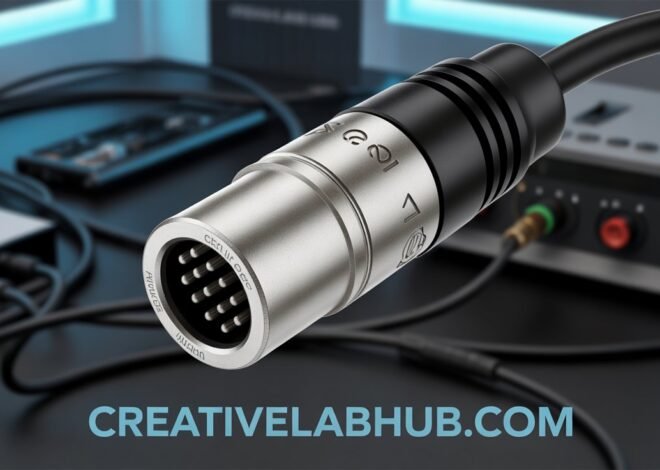
An XLR microphone uses a specific type of cable connection called XLR (External Line Return). This three-pin connector creates a balanced audio signal that resists interference and delivers cleaner sound quality.
Unlike USB microphones that plug directly into your computer, XLR mics require an audio interface or mixer. This might sound complicated, but it’s actually what gives you more control over your audio.
The XLR connection was invented in the 1950s by James H. Cannon. It quickly became the industry standard for professional audio equipment. Today, you’ll find XLR connections on everything from high-end studio microphones to live performance gear.
How XLR Technology Works
The magic of XLR lies in its balanced connection. Here’s what that means for you:
The cable carries two copies of your audio signal plus a ground wire. One signal is inverted. When they reach your audio interface, any electromagnetic interference (like buzzing from power cables) gets cancelled out. The result? Crystal-clear audio with minimal noise.
This balanced signal can travel much longer distances without degradation. While USB cables start losing quality after 15 feet, XLR cables can run 100 feet or more without issues.
Why Choose an XLR Microphone?
You might wonder if the extra equipment is worth it. Let me share why many content creators make the switch to XLR after starting with USB.
Superior Sound Quality
XLR microphones deliver noticeably better audio fidelity. The balanced connection eliminates electronic interference that plagues USB mics. You’ll hear more detail, warmth, and clarity in your recordings.
Professional studios exclusively use XLR for a reason. The technology has been refined over decades to provide the cleanest possible signal path.
Flexibility and Upgradeability
Here’s where XLR really shines. Your setup becomes modular. Want better preamps? Upgrade your audio interface. Need different sound characteristics? Swap out the microphone. The XLR connection stays constant.
USB microphones lock you into their built-in preamps and converters. With XLR, you control every component in your signal chain.
Durability and Reliability
XLR connections are built like tanks. The locking mechanism ensures your cable won’t accidentally disconnect during important recordings. The robust construction withstands years of plugging and unplugging.
I’ve seen XLR cables and microphones last for decades in professional settings. That USB mic you bought last year? It might not make it five years.
Professional Features
Most high-end microphones only come in XLR format. Want a Shure SM7B? Neumann U87? Electro-Voice RE20? These legendary mics require XLR connections. You’re accessing professional-grade equipment that USB simply doesn’t offer.
XLR vs USB Microphones: The Real Difference
This comparison comes up constantly. Both have their place, but understanding the differences helps you choose wisely.
Setup Complexity
USB wins for simplicity. Plug it in, and you’re recording. XLR microphones require an audio interface, which means extra cost and a slight learning curve.
However, that “complexity” gives you powerful advantages. You can adjust gain, apply EQ, and control your sound before it reaches your computer.
Sound Quality Comparison
In direct comparisons, XLR microphones consistently produce cleaner, more professional audio. The difference becomes obvious when you’re recording in less-than-ideal environments.
USB mics combine the microphone, preamp, and analog-to-digital converter in one housing. This creates more opportunities for interference and noise. XLR keeps these components separate and optimized.
Cost Considerations
Budget USB mics start around $50. Entry-level XLR setups (microphone plus interface) begin around $150-200. That’s a bigger initial investment.
But consider this: upgrading a USB setup means buying an entirely new microphone. With XLR, you can upgrade components individually, spreading costs over time.
Portability Factor
USB microphones are more portable. No external gear needed. For podcasters who record on the go, this matters.
However, modern audio interfaces are compact. Many fit in a laptop bag easily. The portability gap has narrowed considerably.
Types of XLR Microphones
Not all XLR microphones are created equal. Different types serve different purposes.
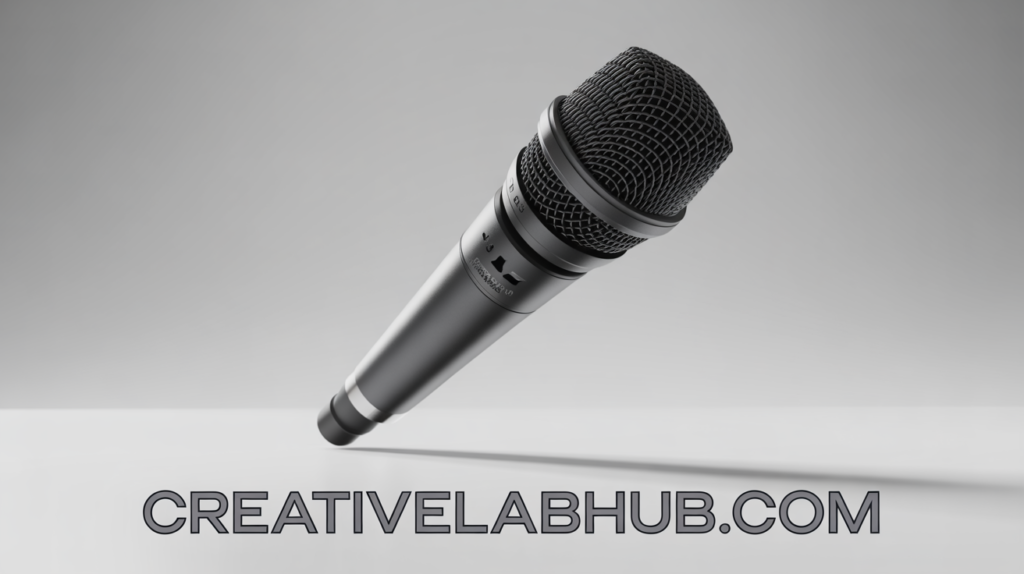
Dynamic Microphones
Dynamic mics are workhorses. They handle high sound pressure levels, resist feedback, and don’t require phantom power. Perfect for podcasting, live performances, and untreated rooms.
The Shure SM7B and Shure SM58 are classic dynamic XLR microphones. They’re forgiving, durable, and sound great on most voices.
Best for: Podcasting, streaming, loud environments, live performances
Condenser Microphones
Condenser mics are more sensitive and capture more detail. They require phantom power (48V) from your audio interface. Ideal for studio vocals, acoustic instruments, and quiet environments.
These microphones pick up room reflections and background noise more easily. You’ll want acoustic treatment for best results.
Best for: Studio recording, ASMR, voiceover work, singing
Ribbon Microphones
Ribbon mics offer vintage warmth and smooth high frequencies. They’re fragile and expensive but deliver a unique sound character. Professionals use them for specific applications where their tone shines.
Best for: Advanced users, specific tonal needs, studio environments
What You Need to Use an XLR Microphone
Let’s break down your shopping list. Don’t worry—this is simpler than it looks.
Audio Interface
This is your most important purchase after the microphone. The audio interface converts your analog XLR signal to digital audio your computer understands.
Popular options include:
- Focusrite Scarlett Solo ($120): Perfect starter interface
- PreSonus AudioBox ($100): Budget-friendly option
- Universal Audio Volt 2 ($190): Enhanced preamp quality
- Audient iD4 ($200): Excellent preamps and build quality
Make sure your interface provides phantom power if you’re using a condenser microphone.
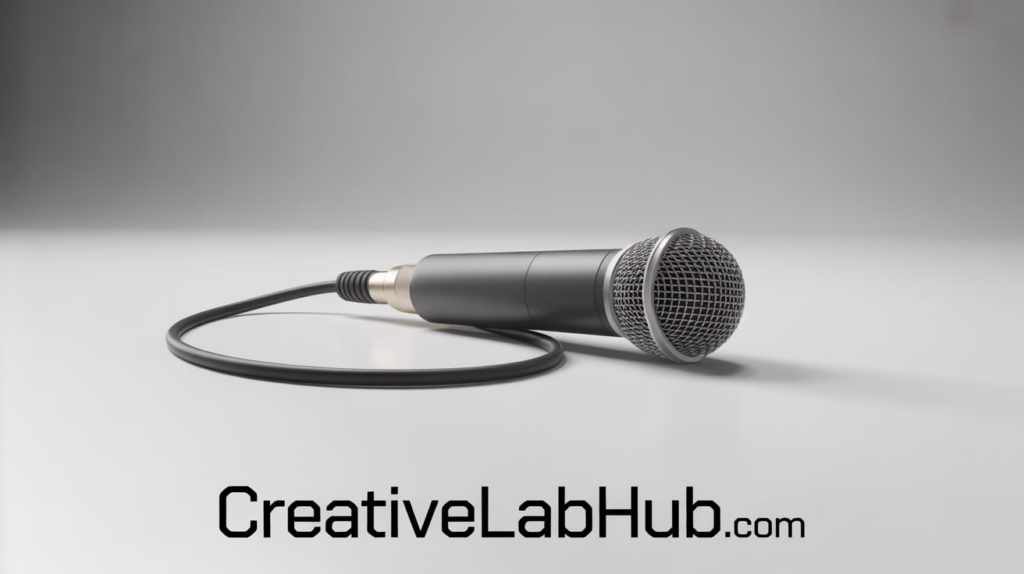
XLR Cable
Don’t cheap out here. A quality XLR cable prevents interference and lasts years. Expect to spend $15-30 for a good 10-foot cable.
Brands like Mogami, Neutrik, and Cable Matters offer reliable options. Avoid the $5 cables—they introduce noise and fail quickly.
Microphone Stand and Shock Mount
Your XLR microphone needs proper mounting. A boom arm or desk stand keeps it positioned correctly. A shock mount isolates the mic from vibrations and handling noise.
Budget $30-100 for these accessories depending on quality and features.
Optional Accessories
Consider these additions:
- Pop filter: Reduces plosives (those harsh “P” and “B” sounds)
- Windscreen: Foam cover for additional protection
- Cloud Lifter: Boosts signal for quiet dynamic mics
- Headphones: Monitor your audio in real-time
How to Set Up Your XLR Microphone
Ready to get recording? Follow these steps for optimal results.
Step 1: Connect Your Equipment
Plug your XLR cable into the microphone. Connect the other end to your audio interface’s XLR input. Connect the interface to your computer via USB.
Make sure connections are secure. The XLR cable should click into place.
Step 2: Configure Your Interface
Turn on phantom power if using a condenser microphone. Check your interface’s manual for the specific switch location.
Set your gain (input level) to around 50% initially. You’ll adjust this in the next step.
Step 3: Adjust Gain Levels
Open your recording software. Speak or sing at your normal performance level. Watch the interface’s input meter.
Adjust gain until your peaks hit around -12dB to -6dB. You want healthy levels without clipping (hitting 0dB). The interface’s LED will turn red if you’re clipping.
Step 4: Position Your Microphone
Place your XLR microphone 6-12 inches from your mouth. Slightly off-axis (not directly in front) reduces plosives naturally.
Experiment with distance. Closer creates more bass (proximity effect). Further back captures more room ambience.
Step 5: Test and Record
Make a test recording. Listen back with headphones. Adjust gain, distance, and angle until you’re happy with your sound.
Every voice and room sounds different. Spend time finding what works for you.
Choosing the Best XLR Microphone for Your Needs
Your ideal microphone depends on your specific use case. Let me break this down by application.
For Podcasting and Streaming
Dynamic microphones reign supreme here. They reject background noise and sound great on spoken word.
Top picks:
- Shure SM7B ($400): Industry standard, warm and smooth
- Electro-Voice RE20 ($450): Broadcast quality, minimal proximity effect
- Shure SM58 ($100): Budget-friendly, surprisingly good for voice
- Audio-Technica AT2040 ($150): Modern dynamic with clarity
I’ve used the SM7B for years. It’s not hype—this microphone delivers consistent, professional results across different voices.
For Music and Singing
Condenser microphones capture vocal nuances beautifully. You’ll hear the difference in quality immediately.
Top picks:
- Audio-Technica AT2020 ($100): Best budget condenser
- Rode NT1-A ($230): Ultra-quiet, detailed sound
- AKG C214 ($400): Professional-grade clarity
- Neumann TLM 102 ($700): Studio reference quality
For Voice Acting and ASMR
These applications demand high sensitivity and detail. Large-diaphragm condensers excel here.
Top picks:
- Rode NT1 ($270): Quiet operation, crisp detail
- Blue Spark ($200): Warm character, good for character voices
- Aston Origin ($300): Unique design, versatile sound
For Live Performance
Durability and feedback rejection matter most. Dynamic mics are your go-to choice.
Top picks:
- Shure SM58 ($100): Legendary live vocal mic
- Sennheiser e835 ($100): Modern alternative to SM58
- Shure Beta 58A ($160): Enhanced clarity and output
Common XLR Microphone Mistakes to Avoid
Learn from others’ errors. These mistakes cost time and frustration.
Setting Gain Too High
Beginners often crank gain to maximum. This introduces noise and causes distortion. Set proper levels using the method I described earlier.
Your audio should have headroom. Loud doesn’t equal good.
Forgetting Phantom Power
Condenser microphones need phantom power to operate. No sound? Check if 48V phantom power is enabled on your interface.
Don’t worry—phantom power won’t damage dynamic mics that don’t need it.
Ignoring Room Acoustics
Your XLR microphone captures everything in your space. Untreated rooms sound echoey and hollow.
Add acoustic treatment gradually. Even a few panels behind and beside you improve results dramatically.
Using Poor Quality Cables
Cheap cables introduce noise, hum, and intermittent connections. Invest in quality cables from day one.
A $20 cable outlasts and outperforms three $5 cables.
Positioning Too Close or Far
Distance dramatically affects your sound. Too close creates muddy bass. Too far sounds distant and roomy.
Start at 6-8 inches and experiment from there.
Maintaining Your XLR Microphone
Proper care extends your equipment’s life significantly.
Cleaning Your Microphone
Dust and moisture accumulate over time. Gently wipe your microphone with a dry microfiber cloth regularly.
For grilles, use a soft brush to remove dust. Never use water or cleaning solutions directly on the mic.
Cable Management
Coil cables properly without sharp bends. Store them loosely or hang them. Proper cable care prevents internal wire damage.
Never unplug cables by yanking the cord. Always grip the connector.
Storage Considerations
Keep your XLR microphone in a dust-free environment. Use the original packaging or a protective case if transporting it.
Avoid extreme temperatures and humidity. These damage sensitive components over time.
Upgrading Your XLR Setup
Once you’ve mastered the basics, these upgrades enhance your sound further.
Better Preamps
Your audio interface’s preamps color your sound. Upgrading to high-end interfaces like Audient, SSL, or Universal Audio reveals more detail and character.
The difference is subtle but noticeable in professional contexts.
Signal Processors
Hardware compressors and EQs provide real-time audio processing. They’re expensive but offer tactile control and unique sonic characteristics.
Start with software plugins before investing in hardware.
Multiple Microphones
Different mics suit different voices and applications. Building a small collection gives you options for various projects.
Many professionals own 3-5 microphones for different situations.
The Future of XLR Technology
Despite USB’s convenience, XLR remains the professional standard. New technologies integrate with XLR rather than replace it.
Audio interfaces continue improving, offering better conversion and lower latency. Wireless XLR systems provide cable-free flexibility without sacrificing quality.
The fundamental XLR connection hasn’t changed because it doesn’t need to. The design works perfectly for its intended purpose.
Is an XLR Microphone Right for You?
Let’s be honest: XLR microphones aren’t for everyone. But they might be perfect for you if:
You’re committed to creating high-quality content. You plan to upgrade your setup over time. You want professional-grade equipment. You’re willing to learn proper audio techniques.
USB microphones work fine for casual users and beginners. But when you’re ready for the next level, XLR is waiting.
The initial investment is higher. The learning curve is steeper. The results are worth it.
Conclusion
XLR microphones represent the professional standard for audio recording. They offer superior sound quality, flexibility, and longevity that USB alternatives can’t match.
Yes, you’ll need additional equipment. Yes, there’s more to learn. But the investment pays dividends in audio quality and creative control.
Whether you’re podcasting, streaming, making music, or voice acting, XLR technology gives you the tools professionals use. Your audience will hear the difference.
Ready to take your audio seriously? Start researching audio interfaces and microphones that fit your budget. Join online communities where creators share their experiences. Most importantly, don’t get paralyzed by options—choose solid entry-level gear and start creating.
What’s holding you back from upgrading to XLR? Drop a comment below or share this guide with a fellow creator who’s considering the switch.
FAQs About XLR Microphones
1. Do XLR microphones need power?
Dynamic XLR microphones don’t require power. Condenser microphones need 48V phantom power, which your audio interface provides. Check your mic’s specifications to know which type you have.
2. Can I plug an XLR microphone directly into my computer?
No. XLR microphones require an audio interface or mixer that connects to your computer via USB. The interface converts the analog XLR signal to digital audio your computer can process.
3. Are XLR microphones better than USB for podcasting?
Generally, yes. XLR microphones deliver better sound quality, more flexibility, and professional features. However, USB mics are more convenient for beginners. Choose based on your commitment level and budget.
4. How long can XLR cables be?
XLR cables can run 100-300 feet without significant signal loss. For home studios, 10-25 foot cables work perfectly. Longer runs are possible with balanced signals, unlike USB’s 15-foot limit.
5. What’s the difference between XLR and quarter-inch cables?
Both can carry balanced audio, but XLR connections lock in place and are more robust. Quarter-inch cables (TRS) are common for instruments. XLR is the professional standard for microphones.
6. Do I need a preamp for my XLR microphone?
Your audio interface includes built-in preamps. Separate preamps can improve sound quality but aren’t necessary for beginners. Start with your interface’s preamps and upgrade later if needed.
7. Can I use an XLR microphone for gaming?
Absolutely. Many streamers and gamers use XLR microphones for superior voice quality. You’ll need an audio interface and proper setup, but the results outshine gaming headsets significantly.
8. How much should I spend on my first XLR microphone?
Budget $250-400 total for a quality starter setup (microphone, interface, cable, and stand). The Audio-Technica AT2020 or Shure SM58 plus a Focusrite Scarlett Solo makes an excellent beginner combination.
9. Do XLR microphones work with smartphones?
Yes, with the right adapter. You’ll need a smartphone-compatible audio interface like the Rode AI-Micro or Zoom UAC-2. This allows mobile recording with XLR quality.
10. What’s the most important factor when choosing an XLR microphone?
Your specific use case matters most. Podcast? Get a dynamic mic. Singing? Choose a condenser. Don’t buy based on hype—match the microphone type to your actual recording needs and environment.
Also Read : Explore Synonym